When you have voltage drops in your car electrical system can be a real problem. To find out where the trouble is, you need to do a voltage drop test. This test the integrity of the wiring harness and connections in your car’s electrical circuit. The procedure involves measuring the volts at one end of a circuit before and after adding a load to it (such as turning on headlights or activating an accessory).

what is a voltage drop test?
A voltage drop test is a type of electrical diagnostic test that measures the amount of voltage lost in an electrical circuit due to resistance. By measuring the difference between the supply voltage and the voltage at a specific point in the circuit, it can be determined if too much voltage is being lost through resistance. This loss of voltage can lead to poor performance.
Circuit boards, motors, and other load devices may not receive enough voltage to operate properly. The voltage drop test checks for any loose connections or corrosion along the circuit that can cause a decrease in available voltage at a component.
how to know if you have a voltage drop problem
any accessories of the car to work properly need a voltage and ground connection and if one of them is missing or the voltage drop is too large, the accessory will not work properly. Some common symptoms may indicate a voltage drop problem:
-Dim headlights or interior lights
-Unstable tail lights
-Stalled engine or sudden loss of power while driving
-Weak battery charge after starting the vehicle
-Slow cranking at startup
-a motor will not work properly
how to use a multimeter to do a voltage drop test
whatever you are testing don’t unplug it you need to see the voltage with the circuit load
you will check the power feed and ground.
set the voltmeter to 20 volt DC, or whatever the voltage of your circuit is. normally 12 volt.
Connect the positive (+) test lead to the power feed wire. (+)
Connect the negative (-) test lead to the ground. (-)
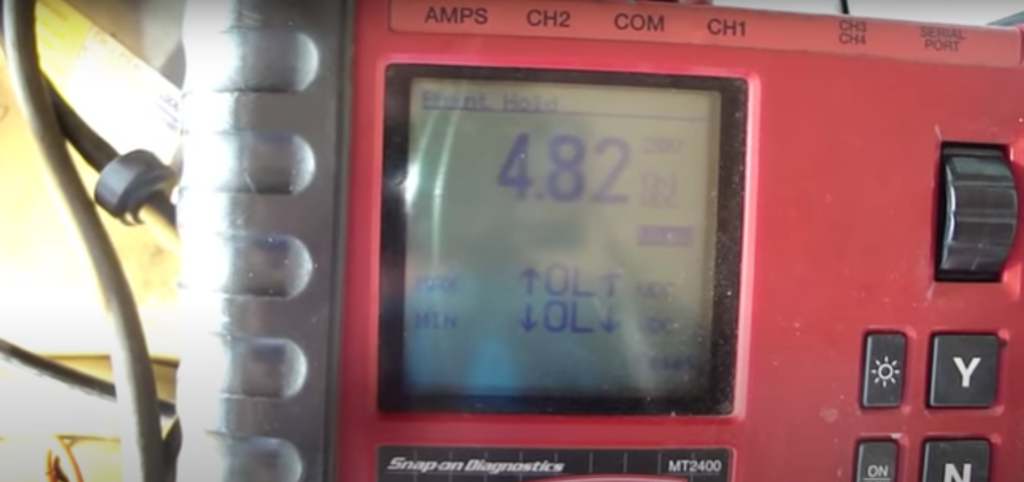
turn on the Circuit and check the voltage on the multimeter.
Compare the reading to your circuit. If it is lower than you expect, then there is a voltage drop somewhere in the circuit.
Follow the wires and look for any places where they may be damaged, pinched, or corroded. Make sure all connections are tight and clean. Remove any dirt, paint, or rust that may be causing an issue.
Check the voltage again with the multimeter to make sure it is back to normal and the voltage drop has been resolved.
You can also use the multimeter to check for current draw by switching the meter over to amps and connecting it in series with the load you are testing. This will allow you to observe how much current is flowing through your circuit and help identify any potential issues.
Once you have identified and resolved any issues, you can be sure your circuit is working safely and efficiently.